


.jpeg)
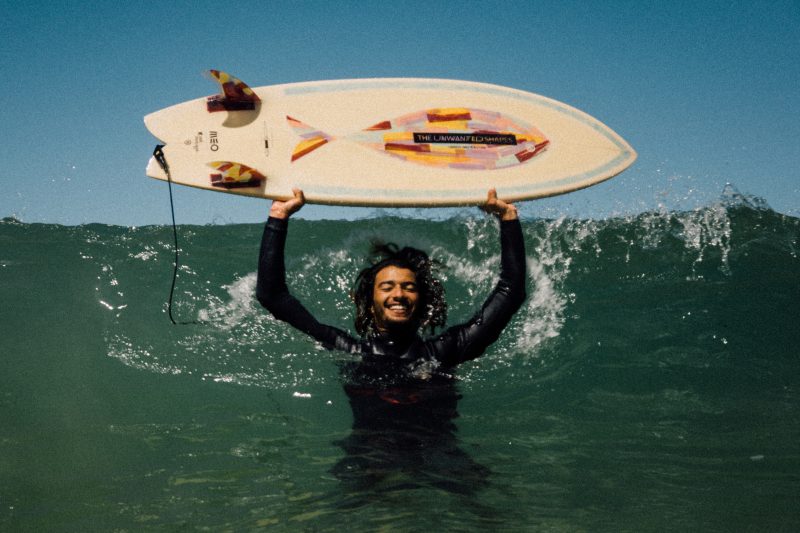
Southern Roads: Paul Duvignau and Aurélie Guérin’s Ode to Surfing’s Soul
Southern Roads, a stunning surf film by surfer-shaper Paul Duvignau and filmmaker Aurélie Guérin. Watch Paul ride and shape his Polyola blank
view story
8 NGOs for Ocean Protection every Surfer needs to know
Check out the following list to discover NGOs for Ocean Protection
view story

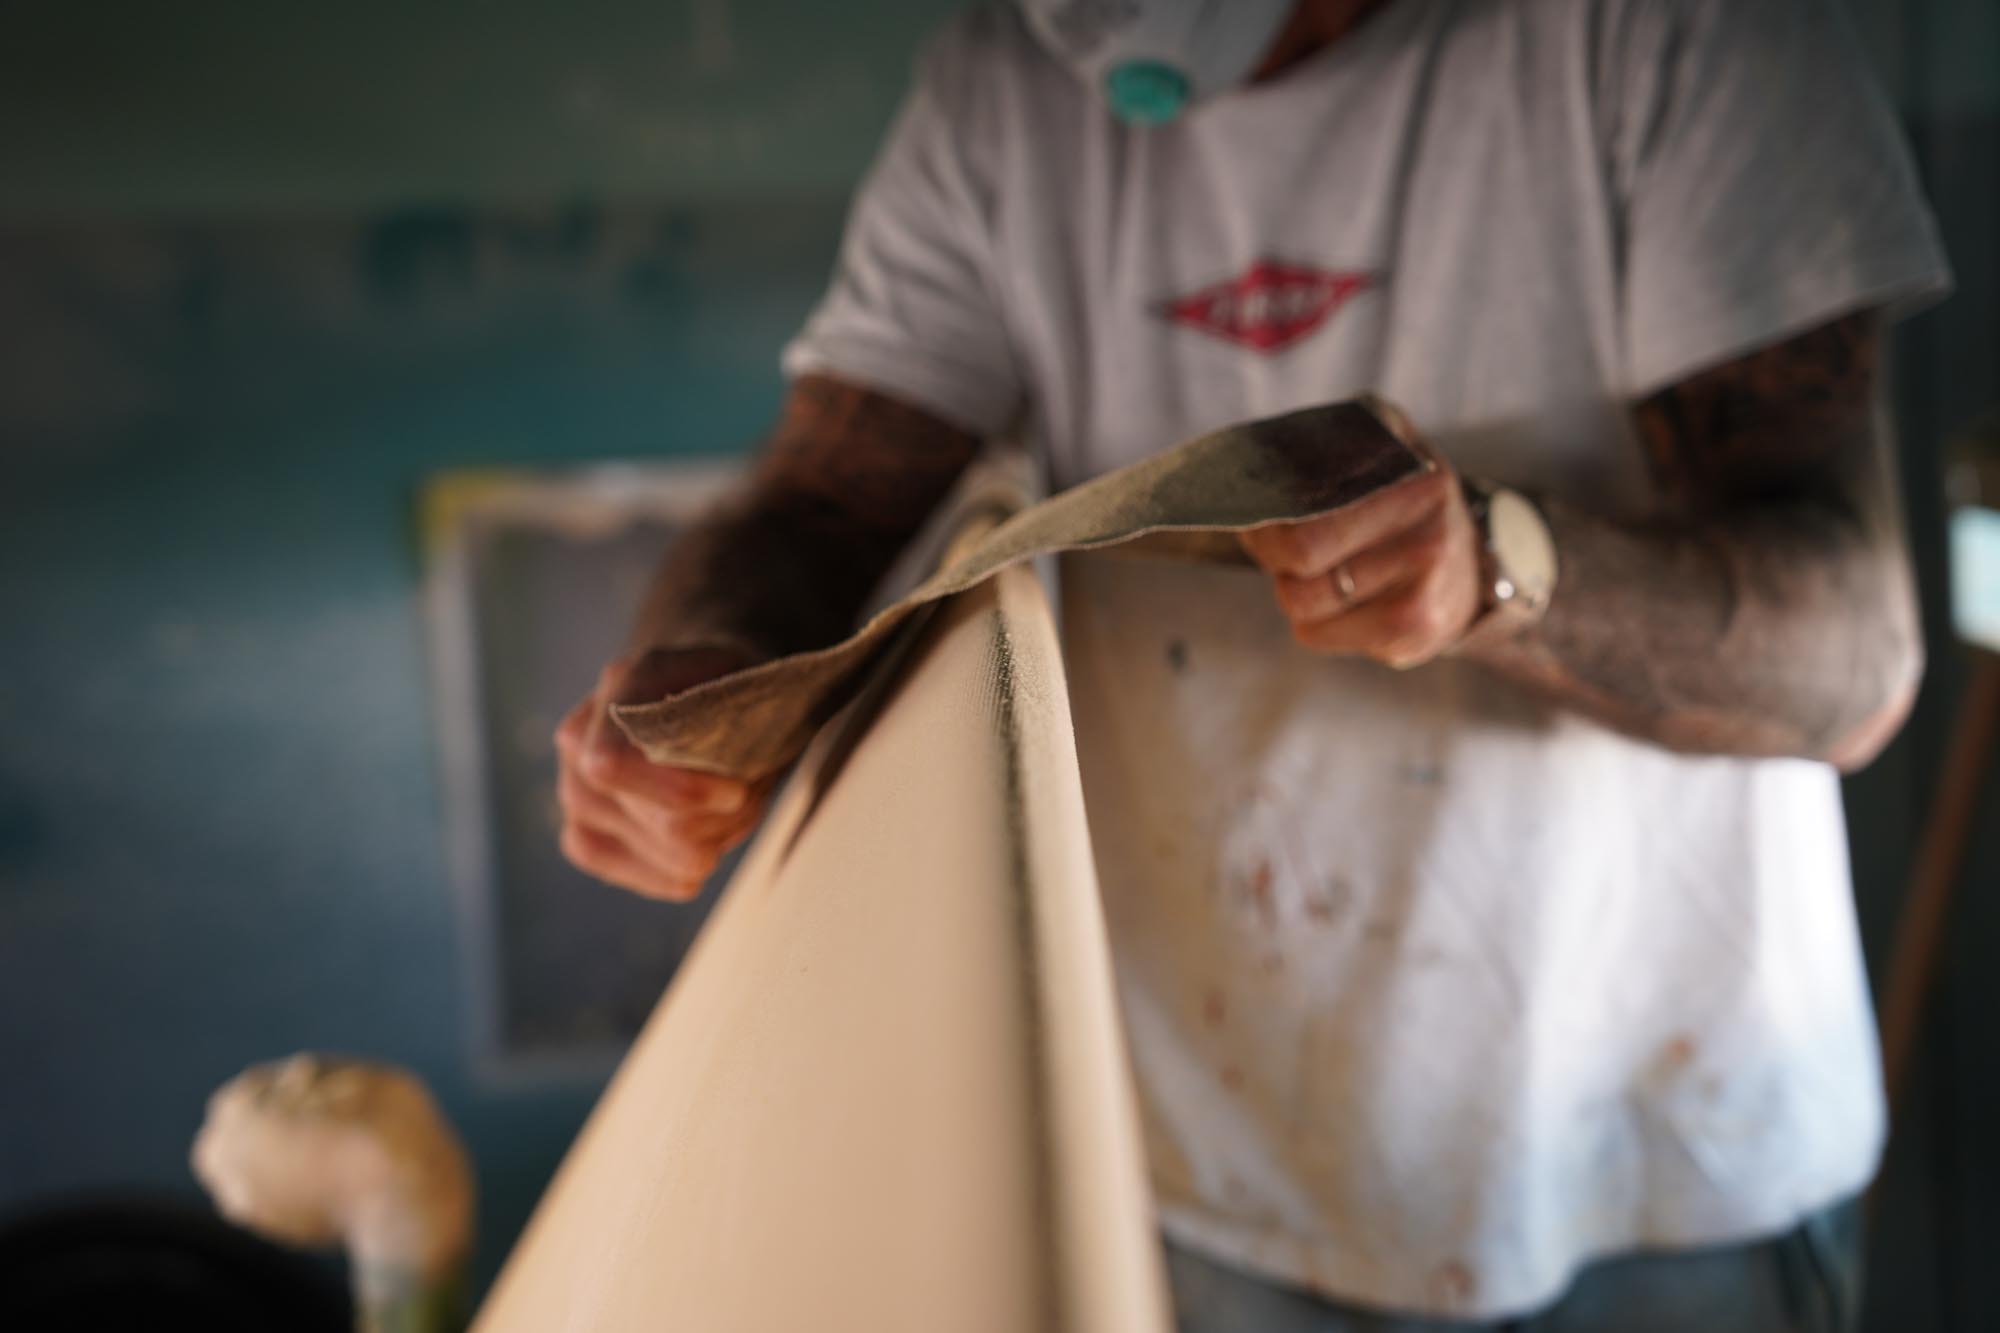
How to Shape your own Surfboard – Surfboard Shaping Tutorial Part 1
Discover the basics of surfboard shaping in Part 1 of our DIY guide. Get started with tools, materials, and tips for crafting your first board!
view story
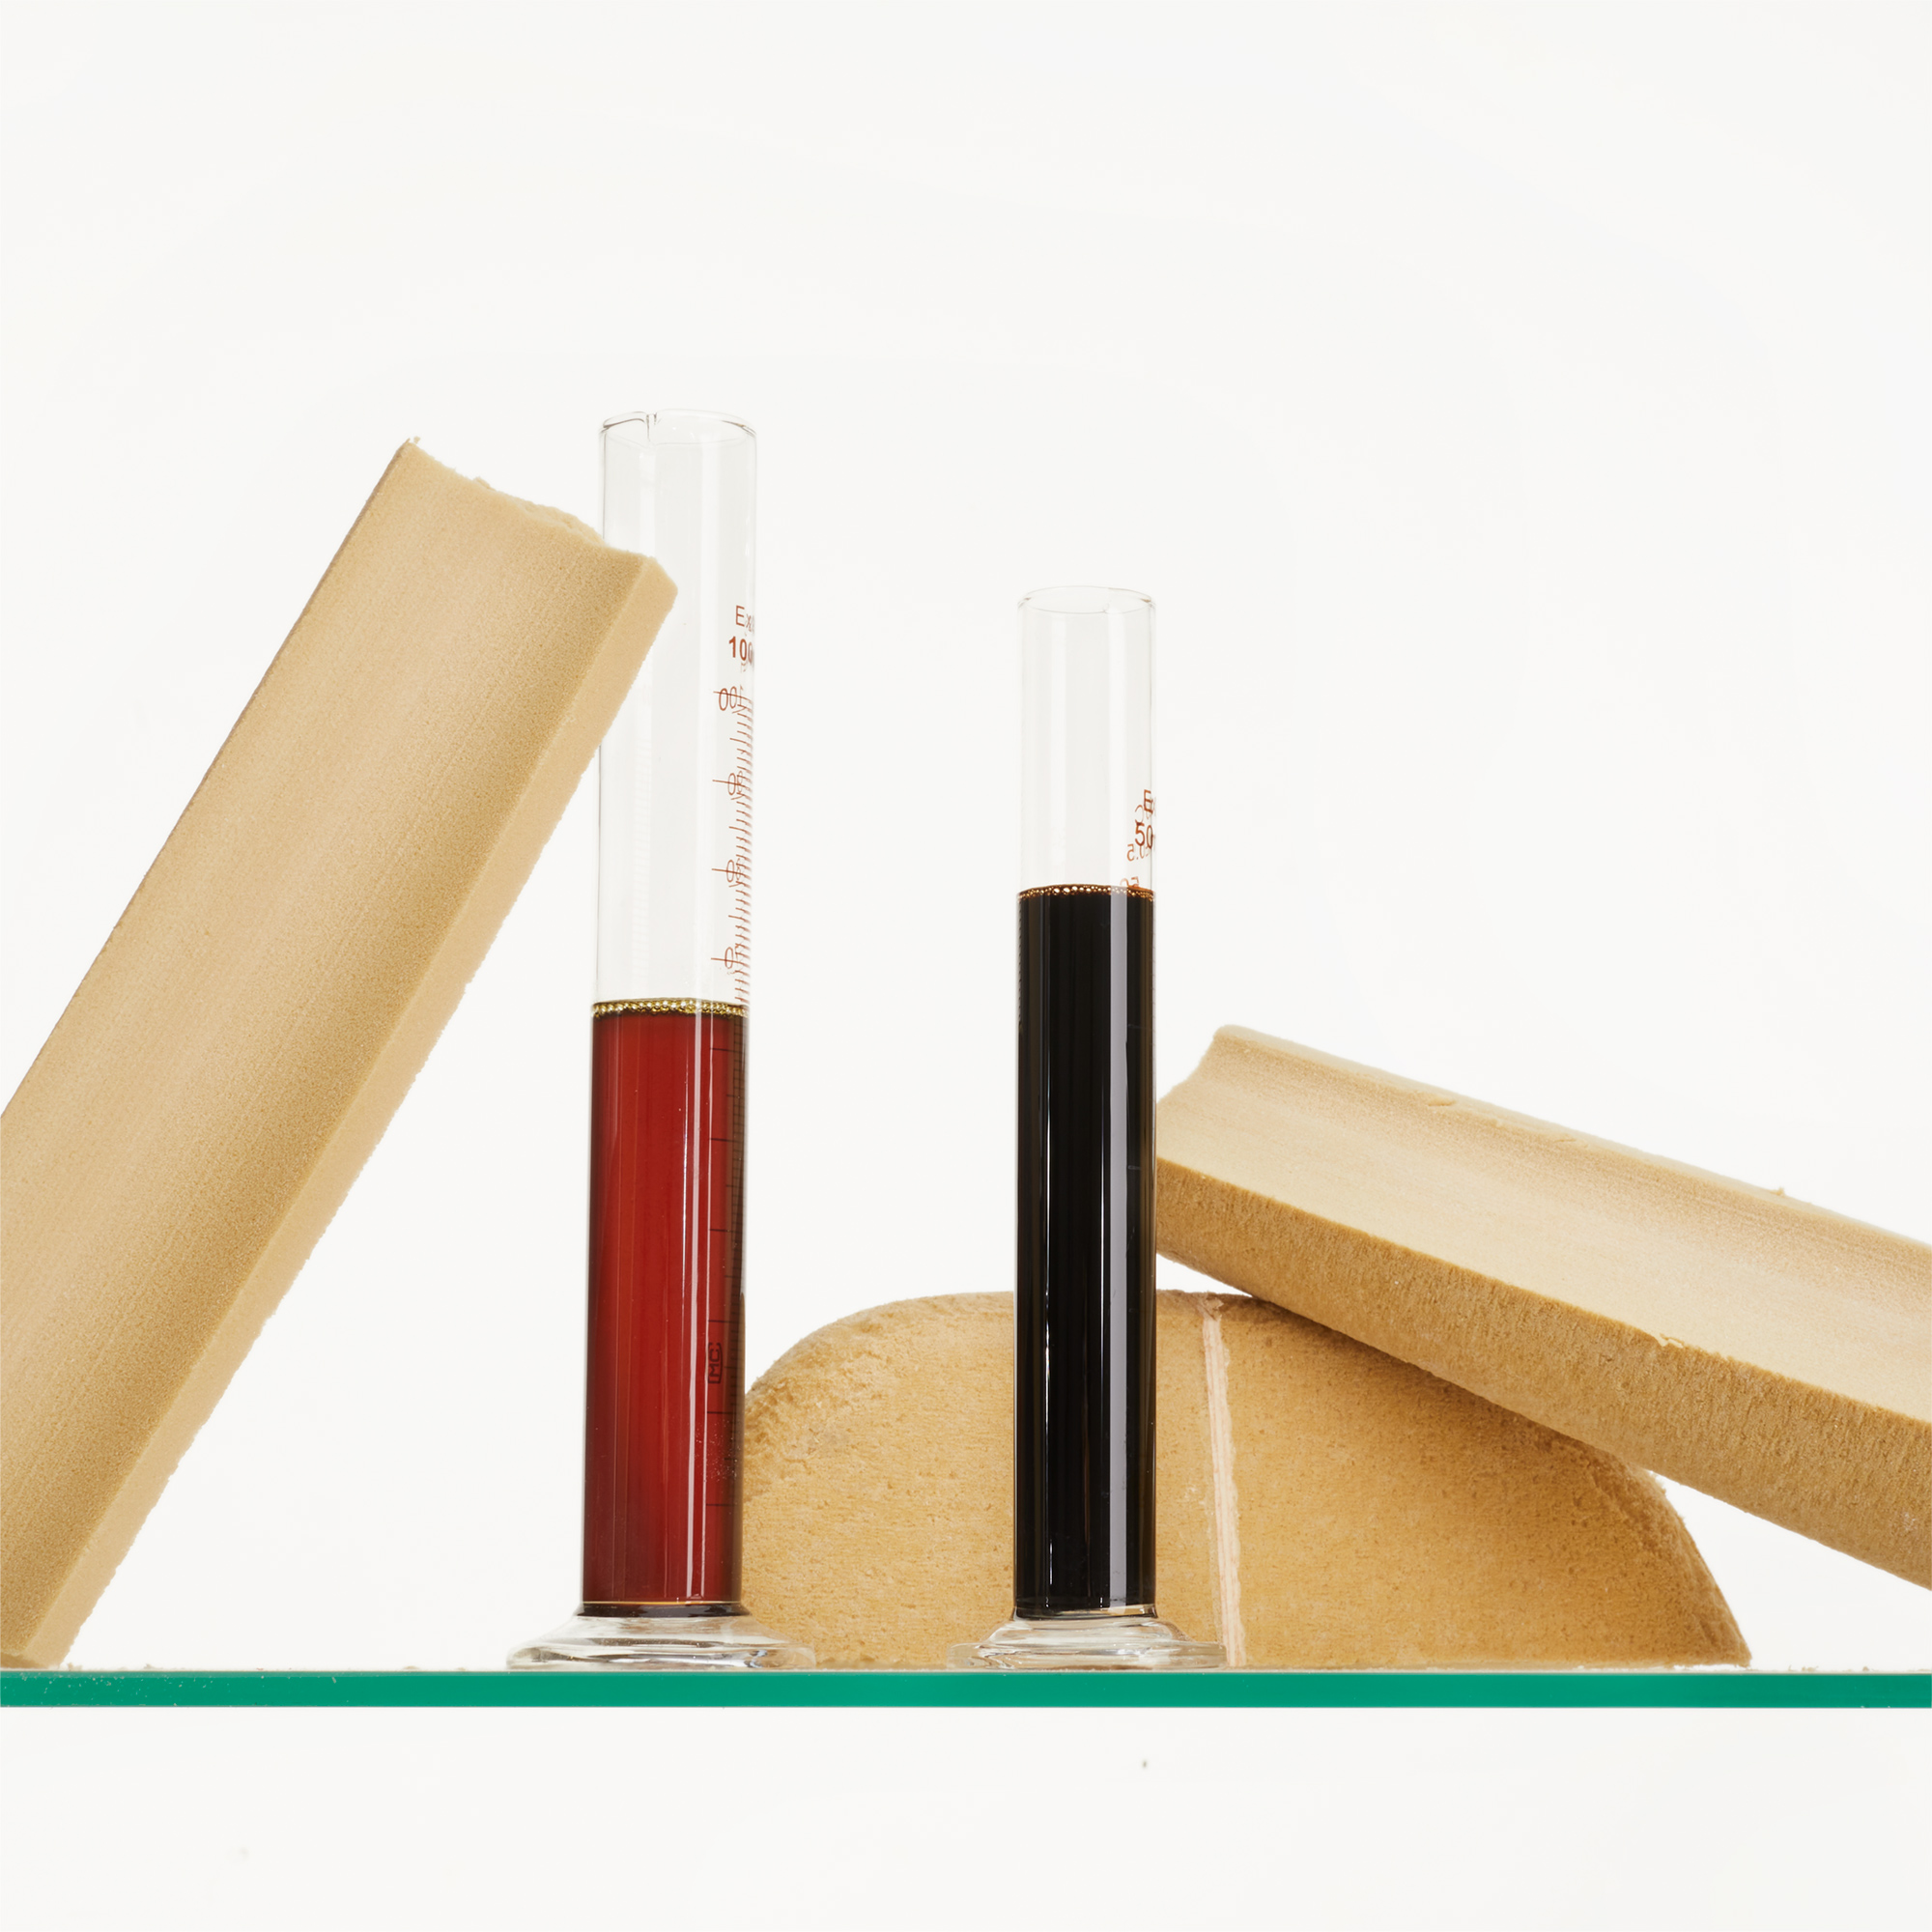
The Future of Surfboard Blanks: Polyola™ Recycling PU Foam
The Polyola™ recycled PU formula: 2/3 recycled material, high performance, and sustainability for modern surfboard blanks.
view story
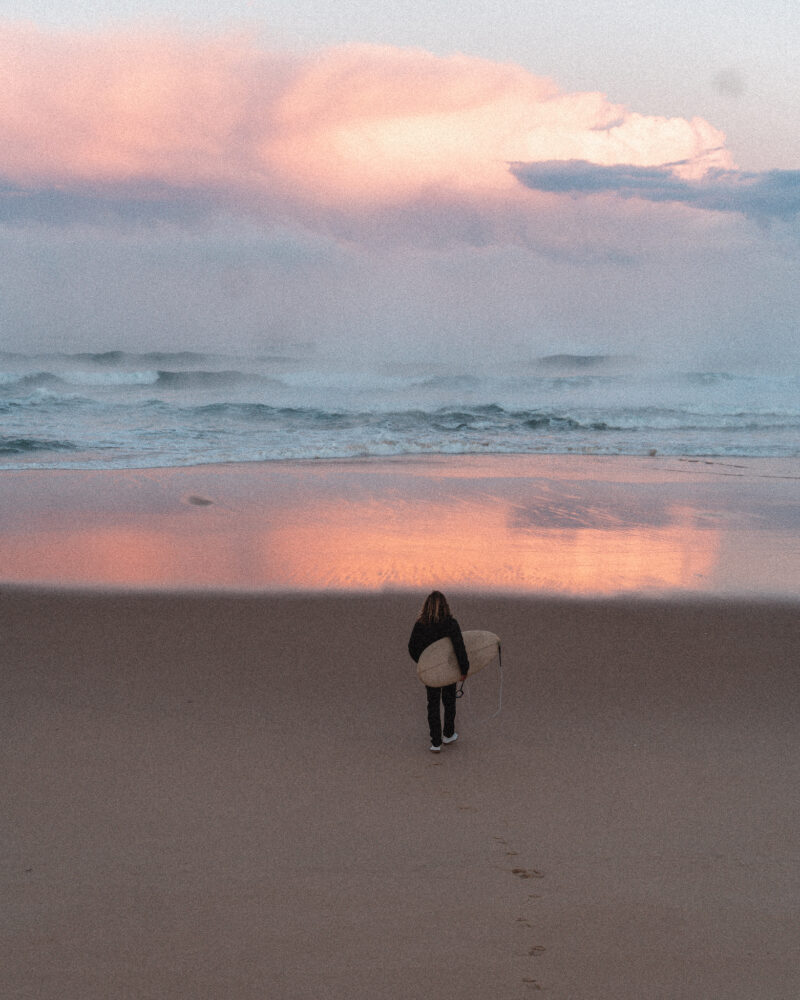
The Surfer-Environmental Paradox: Balancing Passion and Responsibility
Dive into the Surfer Environmental Paradox: discover how surfers can balance their passion for waves with sustainable practices and responsibility.
view story
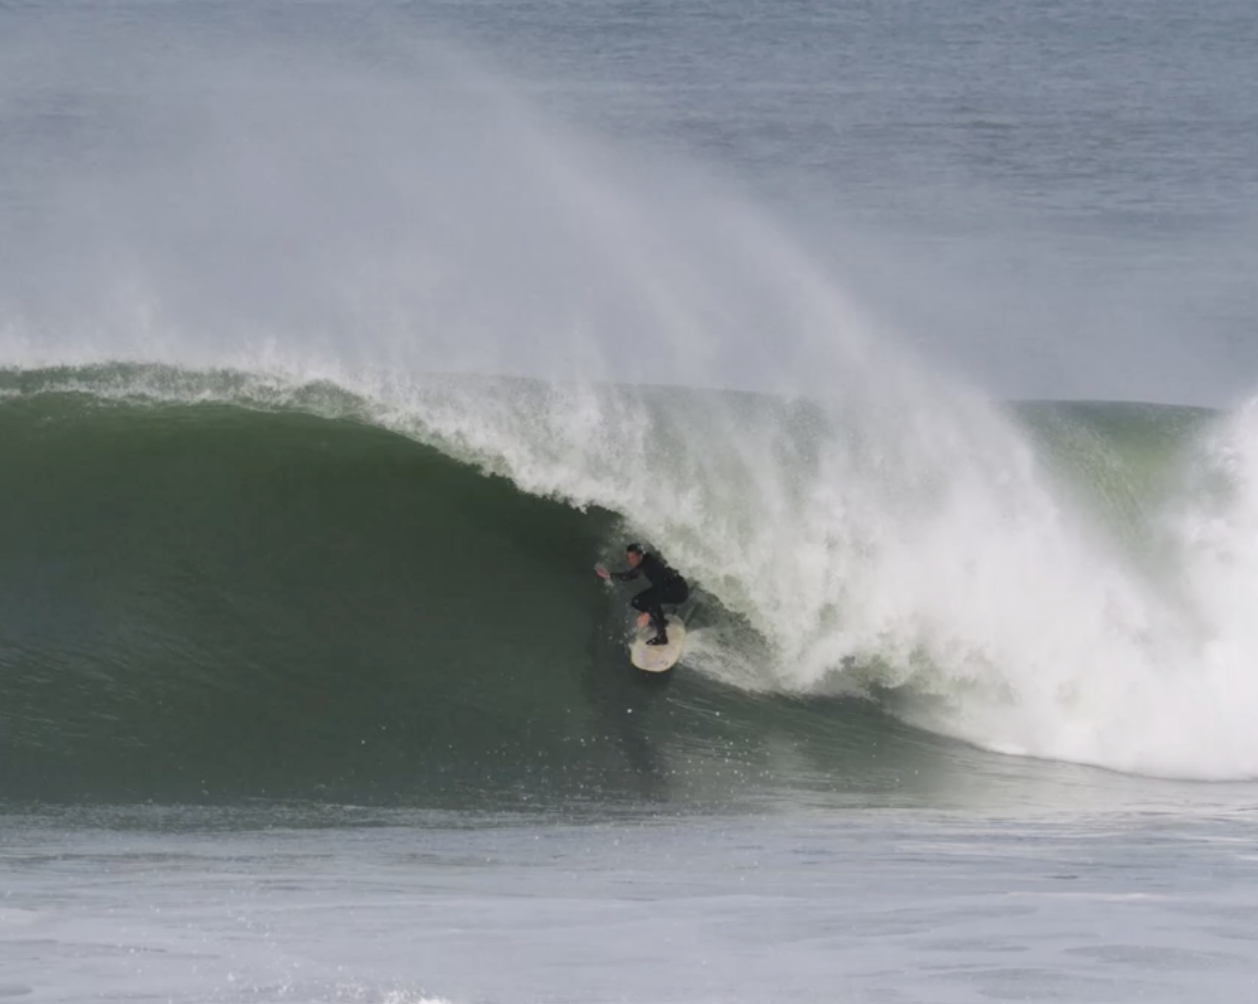
Vincent Duvignac & Boris Romann: Chasing Winter Swells in Hossegor
Vincent Duvignac and Boris Romann charge Hossegor’s winter swells and rip on boards made with Polyola™ Foam.